To start, log in to your RX Wizard account. Don’t have an account? Call NEOLab at (800) 922-6365 to be set up as a customer.
1. From your RX Wizard dashboard, click the green New Case button in the upper right hand corner.

2. If ordering a case from scratch, select the blue New Case without Template button. If ordering from a template, simply click your saved design.

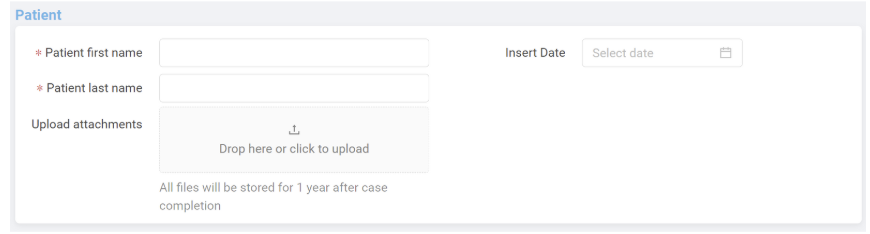
3. In the Patient Details section, add your patient first and last name, and date of appliance insert appointment.
4. In the Impression and Appliance section, indicate whether you are sending a model or impression (Physical) or an intraoral scan (Digital). Please note that 3D Bands can only be ordered when using an intraoral scan, or Digital Impression.
5. In the Type field, choose 3D Appliance - SLS.

6. In the Category section, choose your appliance category. This will be something like Expander, Distalizer, Habit Breaker, or Space Maintainer. If you’d like to order 3D bands only, without an attached appliance, please choose 3D Band Only.
7. In the Appliance section, choose your preferred appliance. These 3D Banding options are available on all 3D Appliance - SLS appliances.

8. Next, in the Banding Options section, choose first what style of 3D Band you’d like. There is a guide below, but you can also hover over the camera icon in the prescription and see an example of each option:

Click on the teeth to indicate where you’d like each band placed.
You can also choose multiple styles at once. Use the green plus button to add another style, and choose the placement on the teeth.

9. Now, in Other Band Options, choose whether you’d like to include optional wings. These cover the buccal or lingual surface of selected teeth. You can choose multiple options at once.

10. Choose whether you’d like to add tubes in the Buccal Tubes section.
11. Complete the remainder of your prescription, which has specific options dependent on the appliance type selected.
12. Select the Due Date for this case. We recommend 1-2 days prior to the next scheduled appointment. Any dates in blue are available to select.
13. Click Continue, and review your case details. If everything looks correct, click Submit to Lab, and you’re finished!
Was this article helpful?
That’s Great!
Thank you for your feedback
Sorry! We couldn't be helpful
Thank you for your feedback
Feedback sent
We appreciate your effort and will try to fix the article