The Case Edit Page is our active workspace within an RX Wizard case. It is the page where doctor or patient information can be modified, where delivery methods and ship dates can be changed, and where products and billing are managed.

The Case Edit Page contains several different sections.
The first section contains the Case Identifiers and Type information. In the case below, we can see that the Case ID number is 2025-47504, and that it belongs to Batch 231215. This case is currently In Production.
We can also see that this case is New, not a remake or repair, and has been assigned pan HP196.

The second section contains Office and Doctor Information. This case is for Fredericksburg Orthodontics, and Dr. Diana Almy. Here we also have their account number, office address, phone number, and direct email addresses. In this case, we have a separate email listed for the doctor, which can be helpful when answering questions.
The blue "show more" text here indicates that more email addresses are available for the office.

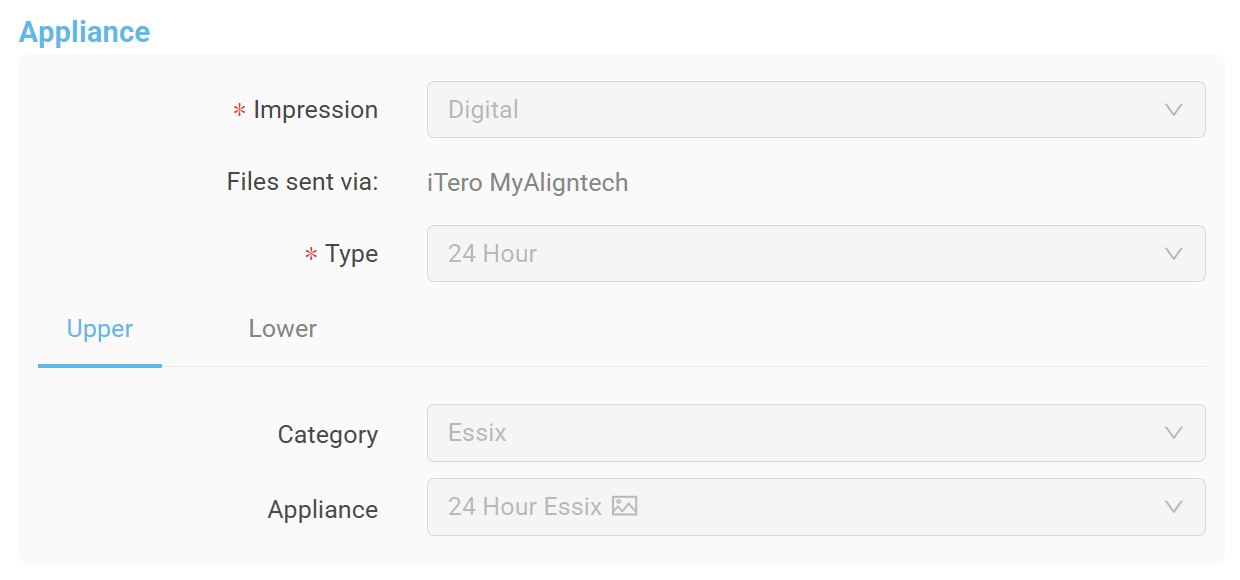
The next section holds all the Appliance information, which is basically a summary of the prescription. In this case, we can see the impression is Digital (intraoral scans) and how those scans were sent.
We also get information about the Type of case, the Category these appliances fall into, and which specific appliances were chosen. By using the Upper and Lower tabs, we can switch back and forth between arches.
Next are the Patient Details. While this particular patient name has been hidden to maintain their privacy, we will be able to see patient first and last name in this section. We can also see the Insert Date, which is an optional field where the doctor can let us know when the patient is returning to receive their appliance.
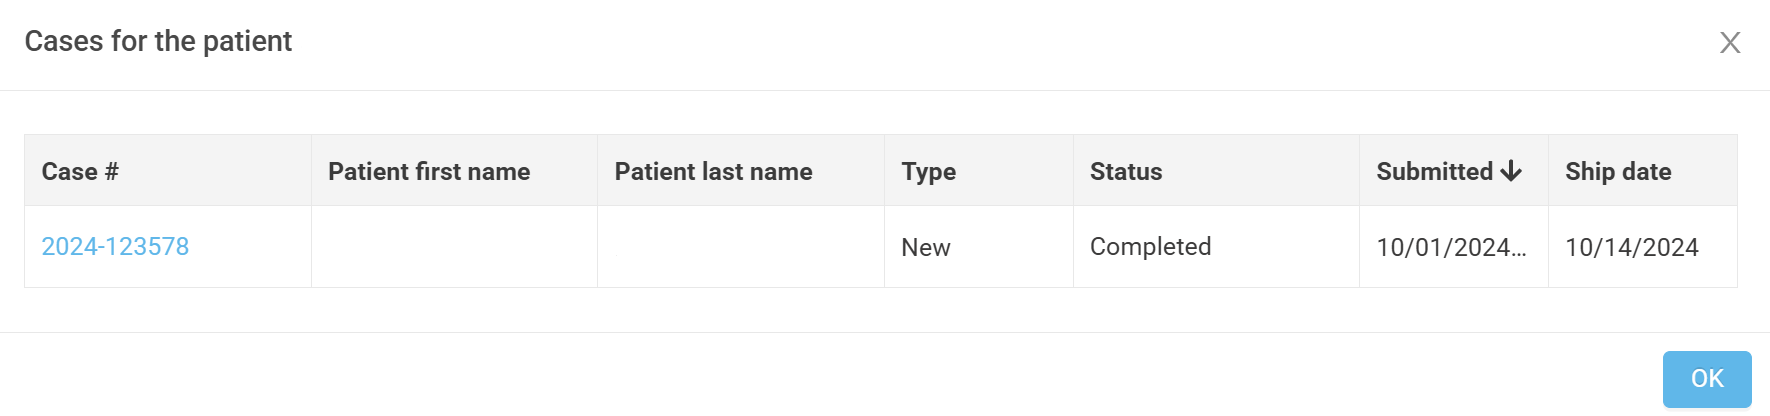
If the patient has ever had another NEOLab case, the red "Cases for Patient" button will be highlighted. This button will open a second window with details about the other cases, including patient name, case number, type, status, date submitted, and date shipped. This field can be particularly helpful in assessing remake cases, but in general can help provide information about the patient's history with NEOLab.

In the Shipping section, we can see the delivery method. When the case is submitted, the delivery method will be automatically assigned to the case based on the Type and Office Location. In this case, a UPS overnight method was applied, because it is a 24-Hour case.
Here, we can also see the Due Date and Ship Date. These dates are connected in RX Wizard, and will impact one another when changed. The Due Date is the date the case is required by the doctor, and will be used in connection with the office location to calculate the Ship Date, or the date the case needs to leave the lab. If this office was located in a 2-Day UPS shipping zone, and had a Due Date of Monday, March 10, 2025, the Ship Date would be Thursday, March 6, 2025 (2-day shipping plus Saturday and Sunday).
Here there is also a checkbox that reads "Do Not Batch". Checking this box will ensure that this case is not included in any batches returning to this office. This box is automatically checked for 24-Hour cases that are being shipped direct to the patient, but we may also manually use this box if the doctor has asked for the case to be returned to an address other than their office (such as their home address).

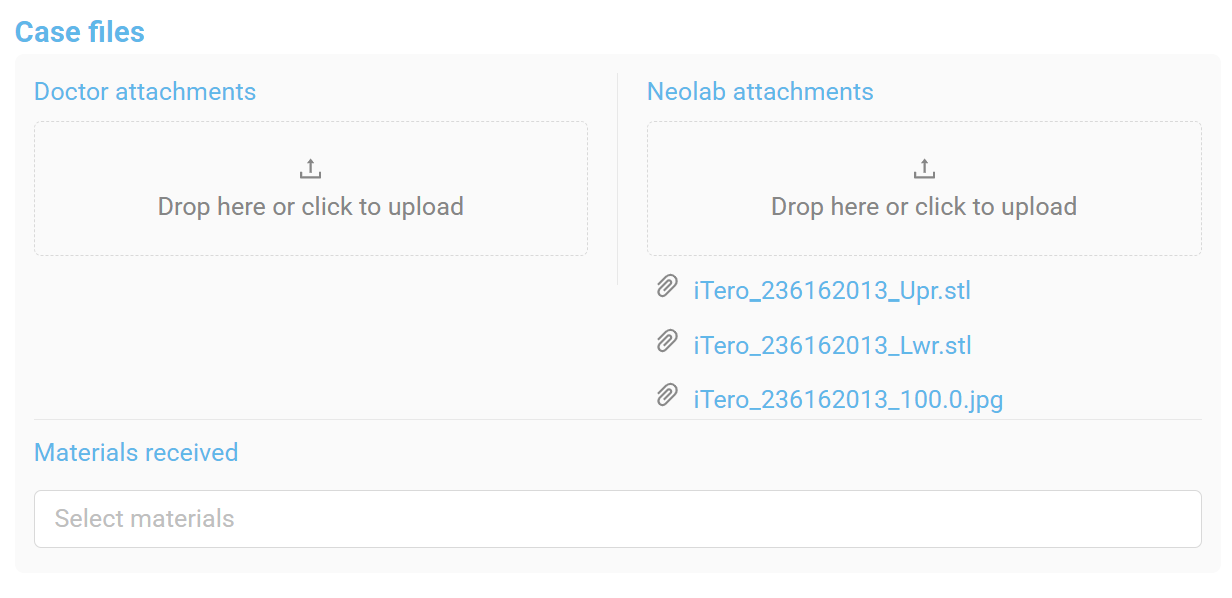
The Case Files section is home to attachments. There are two different kinds of attachments possible on a case:
- Doctor Attachments. These attachments have shared visibility with the doctor. When the doctor is creating a case, they can attach files to share with the lab here. This might include things like photos, x-rays, or STL files. Alternatively, NEOLab can share files with the doctor by adding them to this section. This is useful when we need the doctor to approve a CAD appliance design, or when we are providing them with 3D model files to print in their office.
- NEOLab Attachments. These attachments are visible to NEOLab only. This is a place to share attachments with other members of NEOLab team, and is useful for things like photos, completed CAD designs, STL storage, and more.
The next section contains all stored Doctor Preferences. These are saved reminders, design preferences, or instructions that the doctor has given to us at one time or another. Doctor preferences play a large role in how appliances are made per specific doctor, and are crucial for ensuring we make the case correctly.
Doctor preferences will only show up if they are assigned to productions and/or production steps that are on this particular case, and are color coded based on the department they apply to. Doctor preferences are an in-depth topic that is covered in more detail here.
In this particular case, we can see that the doctor won't schedule to the patient to come back for the appliance until it returns to their office (meaning we can slightly delay the Ship Date if an issue comes up with this case), and that scans are found under a different doctor name than the one that is on the case. This is helpful is knowing where to look for the intraoral scans, and saves us time in the search.

Next up is the Products section. Here is where the individual components of the appliance are billed, including their quantity. The products that are added to the case not only comprise the appliance, but also create the production schedule required by this individual case. The products that are added here create the pathway this case will follow through the lab.
Products are mostly populated and controlled by automapping, but individual products can be added or removed from a case as needed. Automapping is another in-depth topic that is covered here.
In this particular case, there is a Wicked Quick 24 Hour Essix package billed, along with two 3D Models at no charge. The reason these models are without charge is because they are included in the package price, however, we still need to show them on the work ticket and to generate the correct production schedule. This product billing was totally populated by automapping - we didn't have anything to change here.

In the Notes section, we can see any relevant notes added to the case throughout its time in the lab. This might be from something like a Bot account, when the system went to find and retrieve the STL files; we have an example of this below. Notes may also come from production specifications, like which 3D printer models were printed on, or may include details about conversations with the office or doctor.
The Notes section functions as our recordkeeping log for this case. It is crucial that notes are clear and detailed so that anyone accessing this case can understand changes from along the way.

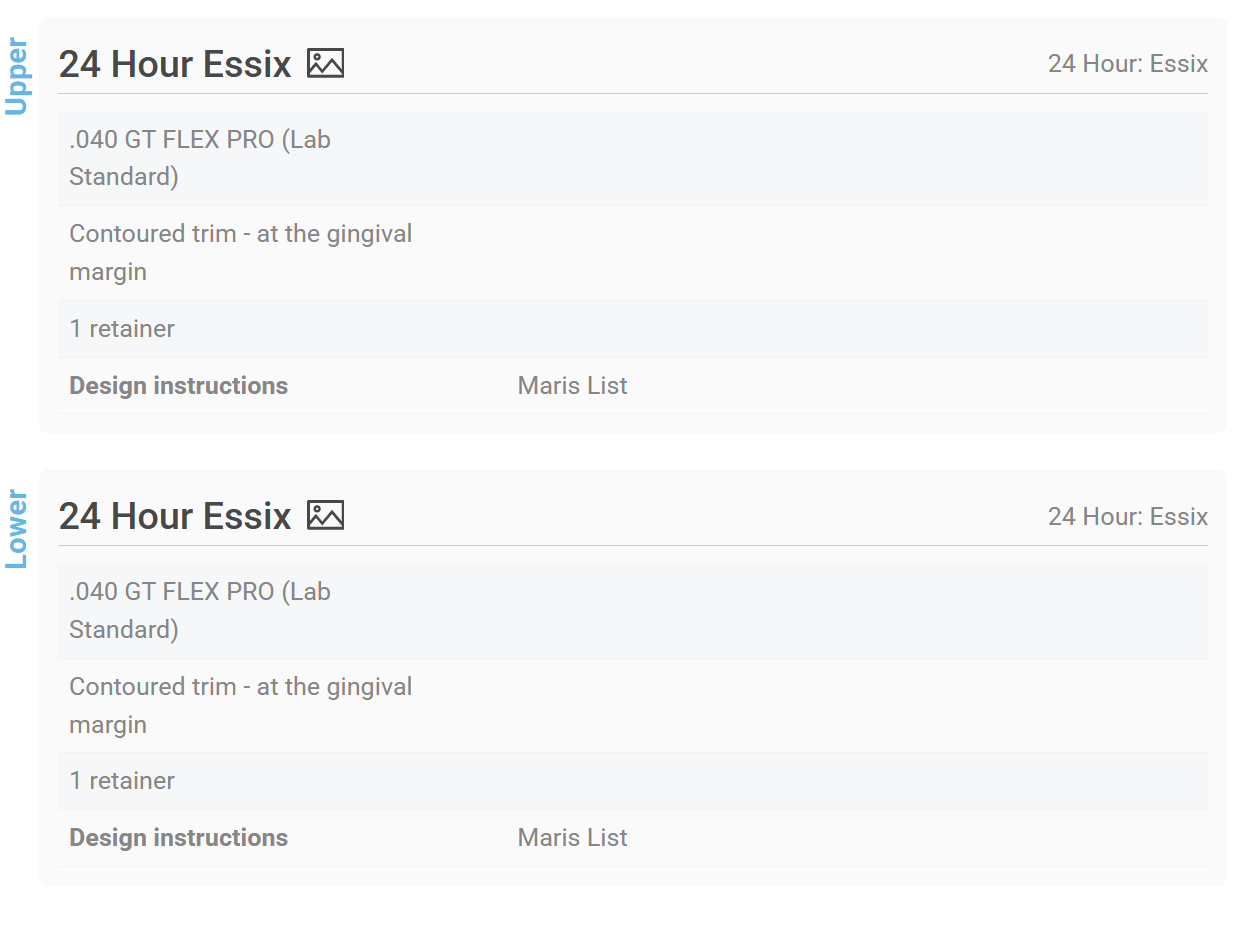
Finally, this brings us to the Prescription. This section contains all the individual options the doctor chose when creating this case.
This section will describe not only the appliance, in this case a 24 Hour Essix, but will also describe the specific details about how it should be made. In the prescription below, we can see that this doctor wants .040 material, for it to be cut at the gingival margin in a contoured trim, and that they only want 1 retainer per arch. These details are critical to the production technicians working on these cases, and they will follow the prescription section carefully to create the perfect appliance.
A doctor can submit a prescription for a single arch (either upper or lower), or for both at the same time. In the event that they submit for only one arch, only that prescription will appear.
Other Case Edit Page Features:
The Case Edit Page also contains several action items held within the Actions menu in the upper right-hand corner. These items will be covered in other articles.
Was this article helpful?
That’s Great!
Thank you for your feedback
Sorry! We couldn't be helpful
Thank you for your feedback
Feedback sent
We appreciate your effort and will try to fix the article